How to Make | Candle Lanterns
IF YOU HAVE A FORGE AT HOME…
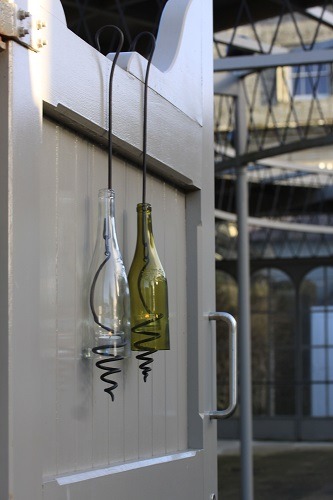
This is a lovely little project and I find the candle lanterns to be a nice present – after you’ve filled up your own house and garden first of course! The instructions below stem from back when we used to teach this at our forge in County Wicklow, so you may find that certain parts are not explained through and through. But if you have already done a little bit of blacksmithing I’d say you should be able to figure it out. Do make your own alterations to the ‘recipe’. After all it’s when you have to fill in the gaps and make your own making-choices that you really start mastering this craft. You might find it helpful to take a look on our facebook page for images from one of the candle lanterns courses back in 2014.
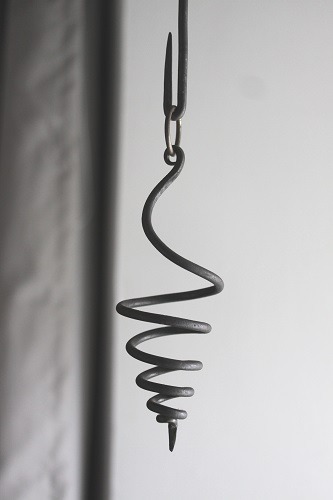
THE SPIRAL
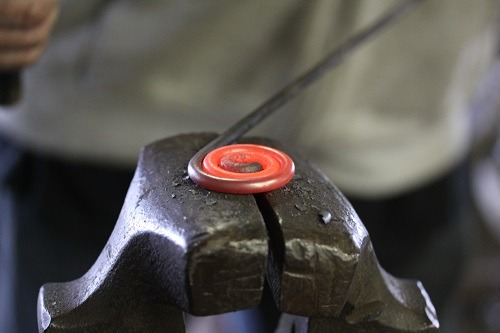
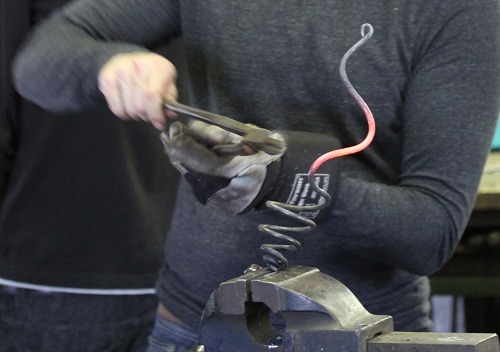
Cut a 80cm piece of 6mm round steel. Hot-bend the end – about 2cm or so – to a right angle. Next heat 5-10cm of the bar above the bend, and clamp this right angle in a vice. Start a tight scroll by pulling to one side; remember that it will flow naturally if the heat is slightly higher furthest away from you. Keep scrolling till you only have 20cm left of the bar (use chalk to mark this). Keep the scroll tight and even by quenching the inside after 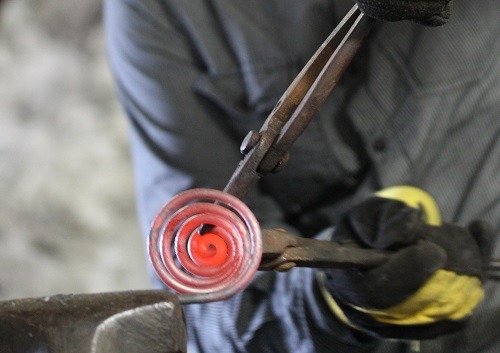 each heat. Take it slow to avoid the layers over lapping, use a small hammer to tap it down flat on top of the vice. Next heat the entire scroll as evenly as possible. Clamp it in the vice again, though this time horizontally, and pull towards you to turn the scroll into a spiral. You will need two pairs of tongs to keep it from getting too long or uneven. The very inside of the scroll usually needs another heat before you can tease it out into a point.
 THE RING
The spiral complete sit your glass tea-light holder into the spiral. (They sell these in Ikea) At the point where the steel travels past the top of the tealight holder mark up with chalk. From this point measure 17cm with a bit of wire (works for most wine bottles but you might find that you need less) and use this to gauge where to cut the bar to length. Taper the end and make a tiny scroll using scroll pliers. Next slightly bend the end ‘in over the centre in a smooth curve’. This bit is hard to describe so you just have to give it a go! Basically you are looking for the spiral to hang down centre to the ring. A small ring is made from 3mm steel – a welding rod works quite well. I use a piece of 25mm pipe as a mandrel but you can also just free-hand-shape it over the beak of the anvil.
THE HOOK
Cut a 50 to 60cm piece of 6mm round steel. I think it’s quite nice if the hook lengths vary a little once the candle lanterns hang side-by-side. Forge a short taper on each end. The lower end needs a tight bend to fit through the neck of the wine bottle so use a 3mm sheet as a spacer. The top hook is shaped free hand. Have a look at the pictures and you will hopefully see what I mean.
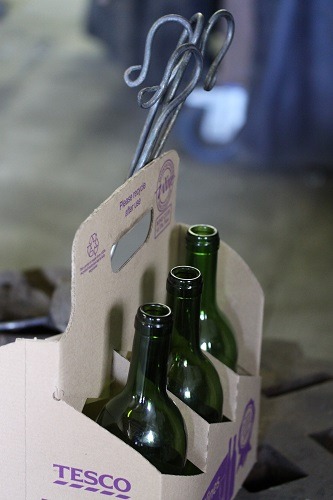
THE BOTTLE
Hot-cutting glass bottles with a 16mm round steel bar heated in the fire is great fun. The type of bottle that makes the nicest candle lanterns (in my opinion) is the ‘Burgundy style’ wine bottle (corked as opposed screw-cap) The clearer the bottle the better the light. Remove the labels first. 2mm glass cuts with one heat, whereas 2.5 to 4mm needs a couple of heats. I havn’t had much luck with say vodka bottles; they tend to be too thick or uneven. Beer bottles are too small.
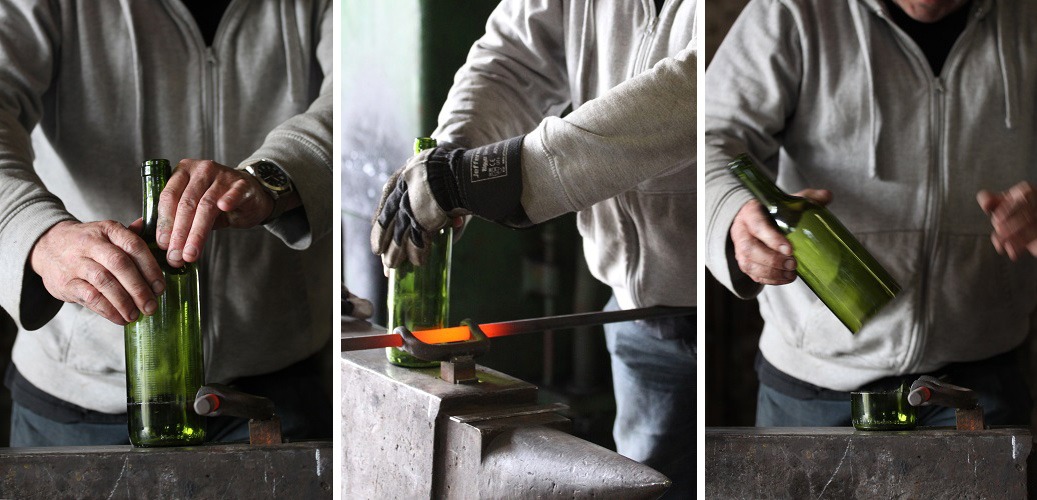
HOT-CUTTING THE GLASS
The scoring created by the hot bar makes a split in the surface of the glass – which encourages the glass to break along the score. When you hot cut, the important thing is to have a way to hold the bar dead steady, vertical and be able to rotate the bottle on top of a smooth surface (so hopefully your anvil is smooth!). You’ll need to make your cut a little ways above the base to avoid the protrusions some bottles have. All bottles vary so it’s good to be able to adjust the height. Watch the score-line as it develops, if there are any breaks in this line its important to go back over these. Keep going around until the bottom comes loose with a small ‘tink’ sound.
DO’S & DONT’S
If your scoring-bar needs reheating, lift the bottle vertically off the anvil and store on cardboard. Do not leave the bottle on the anvil and do not lift the bottle horizontally as this could encourage a premature break – if the score line is not yet complete, that’s usually how a bottle will crack! Let the bottle cool, then use a fine grade wet sand paper to polish the edge. Make sure to have plenty of spares as there will be breakages as you learn to master this. I find that it’s important to wire-brush the scoring-bar before you use it, and that cutting is easiest done if you heat the scoring-bar up to a near-white heat.
Good luck making!